
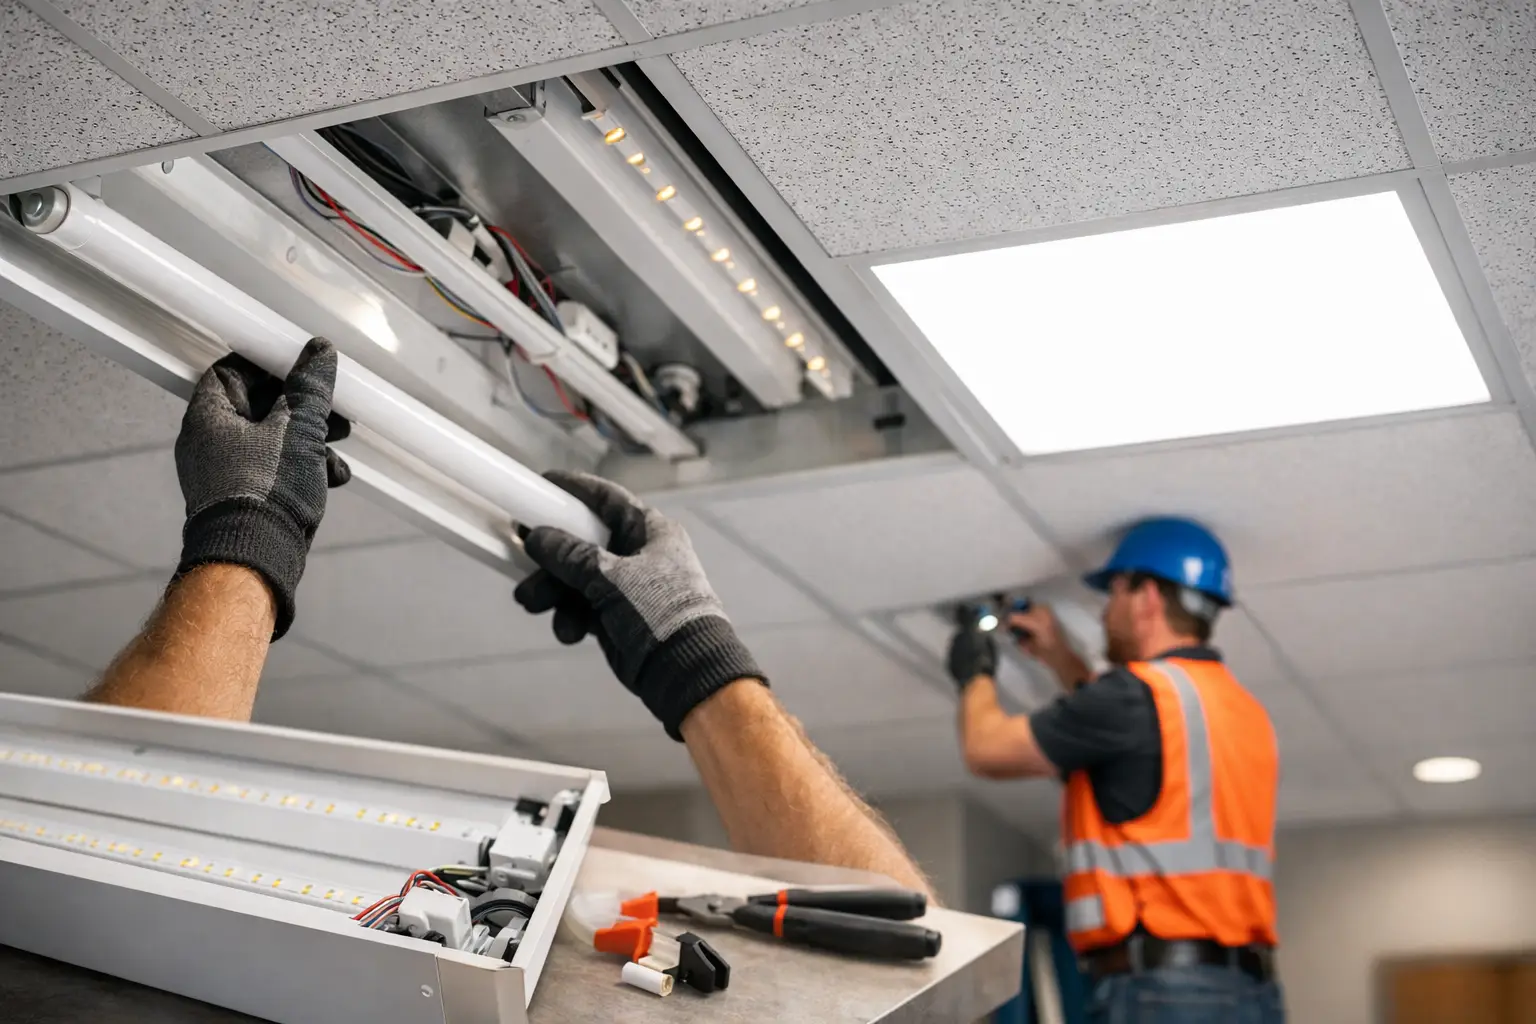
Fluorescent troffers usually fail you twice – first on energy use, then on maintenance. A building may still have working fixtures overhead, but ballast failures, lamp replacements, uneven light, and labor costs keep adding up. If you are evaluating how to retrofit fluorescent troffers, the real question is not whether LED makes sense. It is which retrofit approach gives you the best mix of speed, performance, rebate value, and long-term reliability.
For commercial and industrial facilities, that choice affects more than watts. It affects downtime, crew scheduling, tenant disruption, and project margin. A retrofit that looks inexpensive on paper can turn into a labor-heavy job that erodes savings fast. A well-designed kit does the opposite. It shortens install time, simplifies field work, and improves fixture performance without replacing the entire housing.
What retrofitting a fluorescent troffer actually means
Retrofitting a troffer means keeping the existing fixture body in place while replacing the fluorescent light source and related components with an LED system. In most projects, that involves removing lamps, ballasts, and often the internal wiring that supported the fluorescent setup. The new LED assembly then mounts inside the original troffer and connects to line voltage.
That sounds straightforward, but the details matter. Some retrofits rely on tube replacements and leave more of the old fixture architecture intact. Others use a dedicated LED kit that replaces the optical and electrical core of the fixture. In commercial environments, the second path often produces better light quality, better efficiency, and fewer maintenance issues over time.
The reason is simple. Old fluorescent housings were designed around fluorescent limitations. When you install a purpose-built LED retrofit kit, you are not just swapping a lamp. You are upgrading the fixture’s working components to a system designed for LED performance.
How to retrofit fluorescent troffers step by step
The first step is evaluating the existing fixture and the space it serves. Confirm the troffer size, usually 1×4, 2×2, or 2×4, and inspect the housing condition. If the fixture body is structurally sound, a retrofit is usually a strong option. If the housing is damaged, corroded, or poorly secured, full replacement may be the better call.
Next, identify what the space needs from the upgrade. Offices, schools, healthcare spaces, industrial areas, and retail floors do not all need the same output, optics, or color temperature. This is where many projects go sideways. Teams focus only on replacing wattage and forget to match application needs. Good retrofits should improve the space, not just lower the utility bill.
Once the fixture and performance requirements are confirmed, power is shut off and the fluorescent components are removed. That generally means lamps, ballasts, covers, and any unnecessary internal hardware. The goal is to clear the fixture for the new LED system while preserving the outer housing.
The LED retrofit kit is then mounted, wired, and secured according to its design. This is where product design has a direct effect on labor. Some kits require brackets, screws, extensive rewiring, or more time overhead working inside the fixture. Others are engineered to cut steps out of the process. A magnetic, tool-free system can reduce installation time dramatically, especially across large projects where every extra minute multiplies into real labor cost.
After installation, restore power and verify output, uniformity, and operation. Check that the fixture is performing consistently and that any controls, sensors, or emergency circuits are functioning properly. On a larger job, it also makes sense to review a few finished areas before full project rollout so any adjustments happen early.
Choosing the right retrofit method
There is no single answer for every building, but there are clear trade-offs.
LED tube conversions may look simple because they keep much of the original fixture intact. In some projects, especially low-priority spaces or short-term ownership situations, that can be acceptable. But tube-based approaches often preserve an optical system that was never designed for LED. That can mean less uniform light, lower delivered performance, and more dependence on aging fixture parts.
A dedicated LED retrofit kit usually costs more upfront than a basic tube swap, but it tends to perform better where long-term value matters. You get a more complete system upgrade, better fixture efficacy, and fewer compromises in appearance and light distribution. For contractors and facility teams, that often translates into fewer callbacks and stronger project economics.
This is also where rebate strategy comes into play. High-efficacy retrofit kits typically qualify for stronger incentive levels than lower-performing alternatives. That can narrow or even reverse the apparent cost gap at the start of the job.
Why labor often decides the project
On paper, product cost gets attention first. In the field, labor often determines whether the retrofit pencils out.
If a crew needs extra time opening fixtures, handling hardware, aligning components, and working through inconsistent install conditions, the project gets expensive quickly. That is especially true in occupied commercial spaces where access windows are tight and disruption matters. Schools, offices, healthcare facilities, and multi-tenant properties do not want crews stretching simple lighting upgrades into drawn-out ceiling work.
A well-engineered retrofit kit reduces those friction points. Faster installs lower labor costs directly, but they also reduce scheduling pressure and jobsite intrusion. In many commercial settings, that operational benefit matters as much as the utility savings.
This is one reason contractor-aware product design matters. Optilumen’s magnetic retrofit kit was built specifically to speed field installation while maintaining high performance, allowing many projects to be completed in minutes per fixture rather than turning a troffer upgrade into a complicated rebuild.
Performance factors that matter after installation
Energy savings get the conversation started, but long-term performance is what protects the investment.
Fixture efficacy should be near the top of the list. A more efficient retrofit delivers more light per watt, which improves rebate potential and reduces operating cost over the life of the system. But output alone is not enough. Light distribution, glare control, and consistency across the space matter just as much for occupant comfort and usable illumination.
Reliability is another factor buyers sometimes underestimate. A cheap retrofit may lower first cost, but if drivers fail early or fixture quality is inconsistent, maintenance savings disappear. Commercial buyers generally do better with systems designed for long service life, stable performance, and repeatable quality from fixture to fixture.
It also helps to think beyond the immediate room. If the project includes dozens or hundreds of troffers, consistency becomes a real operational issue. Standardized, dependable retrofit kits make future maintenance and phased upgrades easier.
When a retrofit makes more sense than full replacement
If the existing troffer housing is sound, retrofitting often gives you the fastest path to lower energy use and better light quality without the cost and disruption of replacing the full fixture. That is especially true in projects where ceiling conditions, occupied spaces, or labor budgets make full tear-out less attractive.
Full replacement can still make sense when the existing fixtures are damaged, when code or layout changes require a new form factor, or when the ceiling system is being renovated anyway. But if the housing can stay in place, retrofit usually wins on speed and installed cost.
For many facility managers and contractors, that is the practical advantage. You keep what still has value, remove what creates inefficiency, and upgrade the fixture where it counts.
Common mistakes to avoid
The biggest mistake is treating all troffer retrofits as interchangeable. They are not. Installation method, thermal design, driver quality, optics, and efficacy all affect the result.
Another common issue is underestimating labor. A lower-cost product can become the higher-cost project once installation time, access constraints, and rework are factored in. This is particularly true on large-scale commercial retrofits.
Finally, avoid specifying by wattage alone. The right retrofit should be selected around delivered light, application requirements, service life, and total project economics. A fixture that saves a few dollars upfront but misses on rebates, labor, or reliability is usually the expensive option in disguise.
If you are planning how to retrofit fluorescent troffers across a commercial property, the best approach is to treat the project as an operational upgrade, not just a lighting swap. The right kit should install fast, perform well, and hold up for years. That is what turns a retrofit into a result your team notices long after the job is closed out.
Leave a Reply